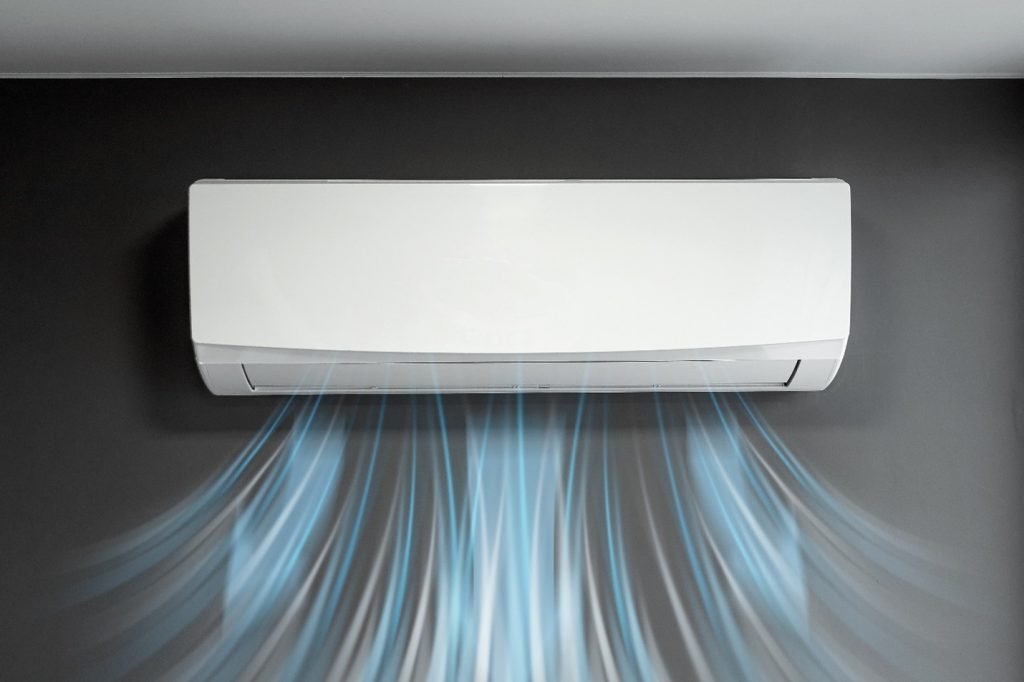
ข้อผิดพลาดของเครื่องลดความชื้นส่วนใหญ่มาจากพลังงาน, การไหลของอากาศ, การระบายน้ำ, เซ็นเซอร์, หรือปัญหาเรื่องความเย็น.
ห้าประเด็นเหล่านี้เป็นสาเหตุของปัญหาเครื่องลดความชื้นทั่วไปหลายประการ, รวมทั้งไม่มีการลดความชื้น, ประสิทธิภาพต่ำ, ไอซิ่ง, การรั่วไหลของน้ำ, ข้อผิดพลาดของเซ็นเซอร์, และการปิดระบบกะทันหัน.
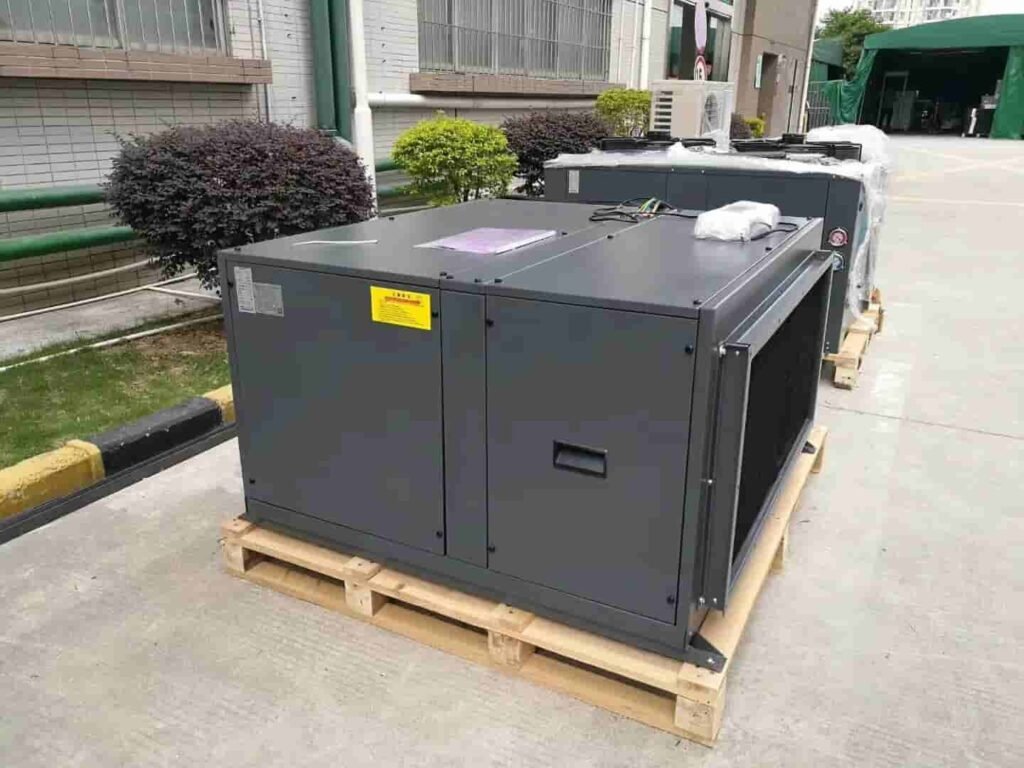
ในคู่มือการแก้ไขปัญหานี้, เราอธิบายข้อผิดพลาดทั่วไป, สาเหตุที่เป็นไปได้, และโซลูชันทีละขั้นตอนสำหรับเครื่องลดความชื้นเชิงพาณิชย์และอุตสาหกรรม.
แผนภูมิการแก้ไขปัญหาด่วน
ปฏิบัติตามลำดับการแก้ไขปัญหาแบบง่ายถึงซับซ้อนก่อนที่คุณจะเปลี่ยนชิ้นส่วนใดๆ. แนวทางนี้ช่วยให้ทีมบำรุงรักษาค้นหาสาเหตุที่แท้จริงได้เร็วยิ่งขึ้น, ลดการหยุดทำงาน, และหลีกเลี่ยงการถอดแยกชิ้นส่วนโดยไม่จำเป็น.
| ขั้นตอนที่ | การกระทำ | จุดสำคัญ |
|---|---|---|
| 1 | แยกอำนาจ | มั่นใจในการตรวจสอบอย่างปลอดภัย. |
| 2 | ตรวจสอบสัญญาณเตือน | ระบุทิศทางของข้อผิดพลาดก่อน. |
| 3 | การตรวจสายตา | มองหาหลวม, สกปรก, ถูกบล็อก, หรือชิ้นส่วนที่เสียหาย. |
| 4 | ฟังระหว่างดำเนินการ | ระบุแฟน, รีเลย์, หรือความผิดปกติของคอมเพรสเซอร์. |
| 5 | วัดค่าที่สำคัญ | ยืนยันแรงดันไฟฟ้า, ปัจจุบัน, เซ็นเซอร์, และสถานะตัวเก็บประจุ. |
| 6 | เปิดเครื่องหากจำเป็น | ถอดแยกชิ้นส่วนหลังจากการตรวจสอบขั้นพื้นฐานเท่านั้น. |
| 7 | ซ่อมแซมและทดสอบใหม่ | ตรวจสอบการทำงานปกติหลังการแก้ไข. |
รายการข้อผิดพลาดและการแก้ไขปัญหา
ขั้นตอนต่อไปเราจะอธิบายรายการข้อบกพร่องและรายละเอียดการแก้ไขปัญหาโดยเฉพาะ.
| ความผิดพลาด | เหตุผล | การแก้ไขปัญหา |
|---|---|---|
| เครื่องลดความชื้นเปิดไม่ติด | 1. ถอดปลั๊กแหล่งจ่ายไฟแล้ว | 1. ตรวจสอบให้แน่ใจว่าเสียบปลั๊กไฟอย่างแน่นหนา. |
| 2. เบรกเกอร์สะดุดหรือฟิวส์ขาด | 2. ตรวจสอบและรีเซ็ตเบรกเกอร์หรือเปลี่ยนฟิวส์. | |
| 3. ปลั๊กไฟชำรุด | 3. ทดสอบเต้ารับกับอุปกรณ์อื่นเพื่อให้แน่ใจว่าใช้งานได้. | |
| 4. ความล้มเหลวของส่วนประกอบภายใน | 4. ติดต่อช่างมืออาชีพ. | |
| 5. ถังน้ำเต็ม | 5. เทน้ำออกจากแท้งค์น้ำและตรวจสอบให้แน่ใจว่าอยู่ในตำแหน่งที่ถูกต้อง. | |
| เครื่องลดความชื้นไม่เก็บน้ำ | 1. ความชื้นในห้องต่ำ | 1. ตรวจสอบว่าความชื้นในห้องสูงกว่าระดับการทำงานของเครื่องลดความชื้น. |
| 2. ไส้กรองอากาศสกปรกหรืออุดตัน | 2. ทำความสะอาดหรือเปลี่ยนไส้กรองอากาศ. | |
| 3. ปิดกั้นช่องอากาศเข้าหรือไอเสีย | 3. ตรวจสอบให้แน่ใจว่าไม่มีสิ่งกีดขวางช่องอากาศเข้าและไอเสีย. | |
| 4. คอมเพรสเซอร์ผิดพลาดหรือสารทำความเย็นรั่ว | 4. ติดต่อช่างมืออาชีพ. | |
| 5. การตั้งค่าความชื้นไม่ถูกต้อง | 5. ปรับการตั้งค่าให้มีระดับความชื้นต่ำลง. | |
| เครื่องลดความชื้นมีเสียงดัง | 1. ชิ้นส่วนหลวมหรือชำรุด | 1. ขันสกรูให้แน่นและตรวจสอบชิ้นส่วนที่สึกหรอ, หรือแทนที่มัน. |
| 2. การอุดตันของพัดลม | 2. ตรวจสอบและนำสิ่งกีดขวางในพัดลมออก. | |
| 3. การสั่นสะเทือนบนพื้นผิวที่ไม่เรียบ | 3. วางเครื่องลดความชื้นบนพื้นผิวที่เรียบ. | |
| 4. ปัญหาเกี่ยวกับคอมเพรสเซอร์ | 4. ติดต่อช่างมืออาชีพ. | |
| เครื่องลดความชื้นมีน้ำรั่ว | 1. ถังเก็บน้ำเต็มหรืออยู่ในตำแหน่งที่ไม่ถูกต้อง | 1. เทน้ำทิ้งและเปลี่ยนตำแหน่งถังเก็บน้ำให้ถูกต้อง. |
| 2. ท่อหรือระบบระบายน้ำอุดตัน | 2. ทำความสะอาดท่อระบายน้ำและตรวจดูให้แน่ใจว่าไม่ได้หักงอหรืออุดตัน. | |
| 3. ถังเก็บน้ำเสียหายหรือแตกร้าว | 3. ตรวจสอบและเปลี่ยนแท้งค์น้ำ. | |
| เครื่องลดความชื้นทำงานอย่างต่อเนื่อง | 1. ความชื้นในห้องสูง | 1. ยืนยันระดับความชื้นของห้องและปรับการตั้งค่า. |
| 2. การตั้งค่าความชื้นไม่ถูกต้อง | 2. ตั้งค่าระดับความชื้นให้สูงขึ้น. | |
| 3. เครื่องทำความชื้นผิดพลาด | 3. ทดสอบและเปลี่ยนเครื่องเพิ่มความชื้น. | |
| 4. ตัวกรองอากาศหรือไอดีที่ถูกบล็อก | 4. ทำความสะอาดตัวกรองอากาศและให้แน่ใจว่ามีการไหลเวียนของอากาศที่เหมาะสม. | |
| เครื่องลดความชื้นเปิด/ปิดบ่อยครั้ง | 1. การตั้งค่าความชื้นไม่ถูกต้อง | 1. ปรับการตั้งค่าความชื้นให้อยู่ในระดับที่เหมาะสมยิ่งขึ้น. |
| 2. ไส้กรองอากาศสกปรก | 2. ทำความสะอาดหรือเปลี่ยนไส้กรองอากาศ. | |
| 3. การไหลเวียนของอากาศที่ถูกบล็อก | 3. ตรวจสอบให้แน่ใจว่าเครื่องมีพื้นที่เพียงพอสำหรับการไหลเวียนของอากาศที่เหมาะสม. | |
| 4. เครื่องทำความชื้นผิดพลาด | 4. ทดสอบและเปลี่ยนเครื่องเพิ่มความชื้น. | |
| 5. ปัญหาไฟฟ้า | 5. ตรวจสอบการเชื่อมต่อที่หลวมหรือสายไฟและการซ่อมแซมที่ผิดพลาด. | |
| เครื่องลดความชื้นเกาะตัวเป็นน้ำแข็งบนคอยล์ | 1. อุณหภูมิห้องต่ำเกินไป | 1. ใช้เครื่องลดความชื้นในสภาพแวดล้อมที่อุ่นกว่า หรือใช้เครื่องลดความชื้นพร้อมระบบละลายน้ำแข็งอัตโนมัติ. |
| 2. การควบคุมการละลายน้ำแข็งผิดพลาด | 2. ตรวจสอบและเปลี่ยนตัวควบคุมการละลายน้ำแข็ง. | |
| 3. การไหลของอากาศที่ถูกจำกัด | 3. ทำความสะอาดตัวกรองอากาศและให้แน่ใจว่ามีการระบายอากาศที่เหมาะสมรอบๆ เครื่อง. | |
| 4. ระดับสารทำความเย็นต่ำ | 4. ติดต่อช่างมืออาชีพเพื่อตรวจสอบและเติมสารทำความเย็น. | |
| เครื่องลดความชื้นมีกลิ่นอับหรือขึ้นรา | 1. ตัวกรองอากาศสกปรกหรือถังเก็บน้ำ | 1. ทำความสะอาดหรือเปลี่ยนไส้กรองอากาศและทำความสะอาดแท้งค์น้ำอย่างสม่ำเสมอ. |
| 2. เชื้อราหรือเชื้อราเจริญเติบโตภายในตัวเครื่อง | 2. ทำความสะอาดด้านในตัวเครื่องด้วยผงซักฟอกอ่อนและน้ำ. | |
| 3. ความชื้นในห้องสูงส่งเสริมการเจริญเติบโตของเชื้อรา | 3. ตรวจสอบให้แน่ใจว่าเครื่องลดความชื้นมีขนาดเพียงพอสำหรับห้อง. | |
| เบรกเกอร์วงจรลดความชื้นสะดุด | 1. วงจรโอเวอร์โหลด | 1. ตรวจสอบให้แน่ใจว่าเครื่องลดความชื้นอยู่ในวงจรเฉพาะ. |
| 2. เครื่องลดความชื้นผิดพลาด | 2. ทดสอบและเปลี่ยนส่วนประกอบที่ผิดพลาดหรือติดต่อช่างเทคนิค. | |
| 3. ไฟฟ้าลัดวงจรหรือปัญหาทางไฟฟ้า | 3. ตรวจสอบปัญหาสายไฟและซ่อมแซม. | |
| พัดลมลดความชื้นไม่ทำงาน | 1. มอเตอร์พัดลมทำงานผิดปกติ | 1. ตรวจสอบและเปลี่ยนมอเตอร์พัดลม. |
| 2. พัดลมที่ถูกบล็อก | 2. ตรวจสอบและขจัดสิ่งกีดขวางรอบๆ พัดลม. | |
| 3. ปัญหาไฟฟ้า | 3. ตรวจสอบและซ่อมแซมการเชื่อมต่อไฟฟ้า. | |
| เครื่องลดความชื้นเป่าลมเย็น | 1. อุณหภูมิห้องต่ำ | 1. ใช้เครื่องลดความชื้นในสภาพแวดล้อมที่อุ่นกว่า. |
| 2. เซ็นเซอร์อุณหภูมิผิดพลาด | 2. ทดสอบและเปลี่ยนเซ็นเซอร์อุณหภูมิ. | |
| เครื่องลดความชื้นไม่ตอบสนองต่อรีโมทคอนโทรล | 1. แบตเตอรี่หมด | 1. เปลี่ยนแบตเตอรี่. |
| 2. รีโมทควบคุมไม่ได้เล็งอย่างถูกต้อง | 2. ตรวจสอบให้แน่ใจว่ารีโมทเล็งไปที่เซ็นเซอร์บนตัวเครื่องโดยตรง. | |
| 3. รีโมทคอนโทรลหรือเซ็นเซอร์ผิดพลาด | 3. ทดสอบและเปลี่ยนรีโมทคอนโทรลหรือเซ็นเซอร์. | |
| เครื่องลดความชื้นร้อนเกินไป | 1. ช่องระบายอากาศที่ถูกบล็อก | 1. ตรวจสอบให้แน่ใจว่าช่องระบายอากาศไม่มีสิ่งกีดขวาง. |
| 2. ไส้กรองอากาศสกปรก | 2. ทำความสะอาดหรือเปลี่ยนไส้กรองอากาศ. | |
| 3. มอเตอร์พัดลมทำงานผิดปกติ | 3. ตรวจสอบและเปลี่ยนมอเตอร์พัดลม. | |
| 4. อุณหภูมิห้องสูงเกินไป | 4. ใช้เครื่องลดความชื้นในสภาพแวดล้อมที่เย็นกว่า. |
การแก้ไขปัญหาเมทริกซ์ที่รับผิดชอบ
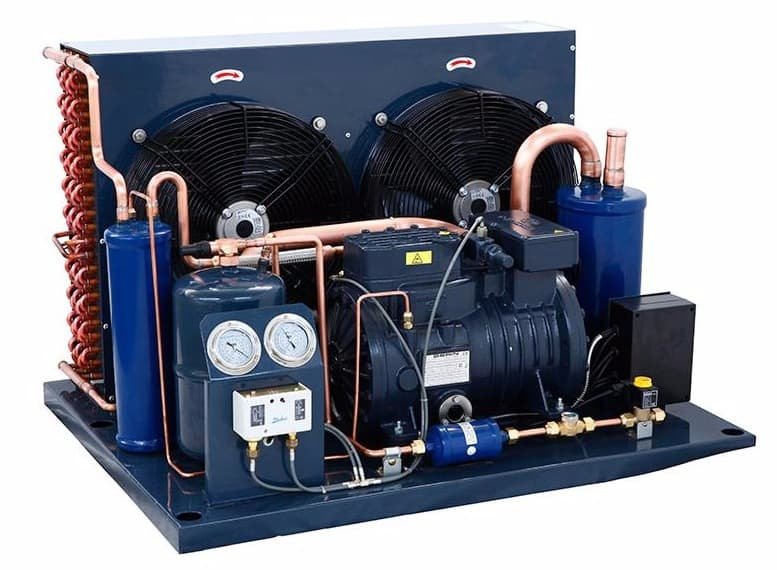
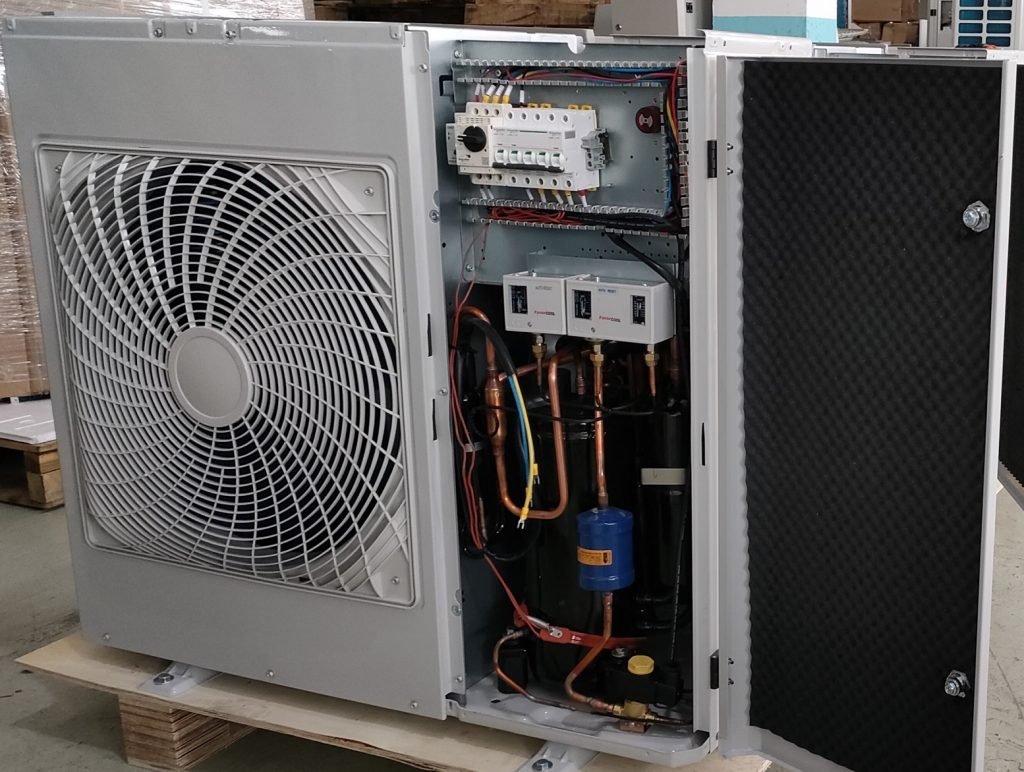
ก่อนการซ่อม, กำหนดขอบเขตการให้บริการให้ชัดเจน. การบำรุงรักษาไซต์งานสามารถจัดการการตรวจสอบขั้นพื้นฐานและปัญหาภายนอกทั่วไปได้, ในขณะที่เกิดข้อผิดพลาดเกี่ยวกับระบบควบคุม, คอมเพรสเซอร์, หรือวงจรสารทำความเย็นควรไปที่ผู้ผลิตหรือช่างผู้ชำนาญ.
| ปัญหา / เงื่อนไข | การบำรุงรักษาผู้ใช้หรือไซต์ | การสนับสนุนทางเทคนิคของผู้ผลิต |
|---|---|---|
| ไม่มีพลัง, ขั้วหลวม, เบรกเกอร์สะดุด | ใช่ | เลขที่ |
| ตัวกรองสกปรก, ทางเข้าหรือทางออกที่ถูกบล็อก | ใช่ | เลขที่ |
| ท่อระบายน้ำอุดตันหรือความลาดเอียงของท่อระบายน้ำไม่เหมาะสม | ใช่ | เลขที่ |
| การทำความสะอาดถาดรองน้ำและการตรวจสอบการระบายน้ำเบื้องต้น | ใช่ | เลขที่ |
| สกรูหลวมที่มองเห็นได้หรือการสั่นสะเทือนที่ผิดปกติ | ใช่ | เลขที่ |
| การตรวจสอบสายไฟเซ็นเซอร์พื้นฐาน | ใช่ | เลขที่ |
| รีเซ็ตพารามิเตอร์อย่างง่ายตามคู่มือ | ใช่ | เลขที่ |
| ปลุกซ้ำหลังจากรีเซ็ต | เลขที่ | ใช่ |
| เซ็นเซอร์ขัดข้องต้องเปลี่ยนหรือสอบเทียบ | เลขที่ | ใช่ |
| ปั๊มระบายน้ำขัดข้องหรือสายไฟภายในผิดปกติ | เลขที่ | ใช่ |
| มอเตอร์พัดลมทำงานผิดปกติ, ข้อผิดพลาดของตัวเก็บประจุ, ข้อผิดพลาดของรีเลย์ | เลขที่ | ใช่ |
| PCB เสียหายหรือส่วนประกอบควบคุมที่ถูกไฟไหม้ | เลขที่ | ใช่ |
| ความผิดปกติของพารามิเตอร์โปรแกรมหรือตรรกะของตัวควบคุมผิดปกติ | เลขที่ | ใช่ |
| คอมเพรสเซอร์โอเวอร์โหลดหรือทริปป้องกันซ้ำ | เลขที่ | ใช่ |
| การรั่วไหลของสารทำความเย็น, เติมเงิน, หรือซ่อมแซมระบบซีล | เลขที่ | ใช่ |
| การป้องกันแรงดันสูง/ต่ำโดยไม่ทราบสาเหตุ | เลขที่ | ใช่ |
| เครื่องทำงานแต่ความจุยังต่ำกว่าระดับมากหลังจากการตรวจสอบขั้นพื้นฐาน | เลขที่ | ใช่ |
ตารางการบำรุงรักษาเชิงป้องกัน
ขั้นตอนการบำรุงรักษาที่ดีไม่เพียงแต่ป้องกันข้อผิดพลาดทั่วไปเท่านั้น, แต่ยังช่วยให้ทีมบริการตรวจพบข้อจำกัดการไหลเวียนของอากาศ, ปัญหาการระบายน้ำ, ส่วนเบี่ยงเบนเซ็นเซอร์, และปัญหาการทำความเย็นล่วงหน้าก่อนที่จะทำให้เกิดการปิดเครื่อง.
| ช่วงเวลา | รายการบำรุงรักษา | การดำเนินการที่สำคัญ |
|---|---|---|
| ต่อเดือน | ไส้กรองอากาศ | ทำความสะอาดหรือเปลี่ยนไส้กรอง, ตรวจสอบปริมาณฝุ่นและความต้านทานการไหลของอากาศ. |
| ต่อเดือน | ช่องอากาศเข้าและออก | ขจัดสิ่งอุดตัน, ตรวจสอบการไหลของอากาศฟรี, ตรวจสอบสภาพกระจังหน้า. |
| ต่อเดือน | ระบบระบายน้ำ | ตรวจสอบท่อระบายน้ำ, ถาดระบายน้ำ, กับดักน้ำ, และการไหลออก. |
| ต่อเดือน | พื้นผิวยูนิตและตู้ | ทำความสะอาดสิ่งสกปรก, ตรวจสอบการกัดกร่อน, สภาพแผงตรวจสอบ. |
| ต่อเดือน | สถานะการทำงานขั้นพื้นฐาน | ยืนยันการลดความชื้น, การระบายน้ำ, เสียงรบกวน, การสั่นสะเทือน, และสถานะการเตือน. |
| 3 เดือน | ขั้วไฟฟ้า | ตรวจสอบความแน่นของขั้วต่อ, สภาพสายเคเบิล, และสัญญาณของความร้อนสูงเกินไป. |
| 3 เดือน | คอยล์เย็นและคอนเดนเซอร์ | ทำความสะอาดพื้นผิวคอยล์และตรวจสอบสิ่งสกปรก, น้ำค้างแข็ง, หรือครีบเสียหาย. |
| 3 เดือน | ส่วนพัดลม | ตรวจสอบการหมุนของพัดลม, สภาพใบมีด, เสียงมอเตอร์, และความมั่นคงในการติดตั้ง. |
| 3 เดือน | ประสิทธิภาพของเซนเซอร์ | เปรียบเทียบค่าที่แสดงกับสภาพห้องจริง และตรวจสอบการยึดเซ็นเซอร์. |
| 3 เดือน | ปั๊มระบายน้ำหากมีการติดตั้ง | ทดสอบฟังก์ชันเริ่ม/หยุดปั๊ม และยืนยันการระบายน้ำที่สม่ำเสมอ. |
| 6 เดือน | ระบบควบคุม | ตรวจสอบประวัติการเตือน, ตรวจสอบสภาพ PCB, และตรวจสอบการตั้งค่าพารามิเตอร์. |
| 6 เดือน | ตัวยึดและโครงสร้าง | ขันสกรูกุญแจให้แน่น, ตรวจสอบกรอบ, รองรับ, และชิ้นส่วนป้องกันการสั่นสะเทือน. |
| 6 เดือน | ประสิทธิภาพการทำความเย็น | ตรวจสอบสภาพการดูด/ระบาย, รูปแบบคอยล์ฟรอสต์, และประสิทธิภาพการลดความชื้น. |
| 6 เดือน | อุปกรณ์ความปลอดภัย | ตรวจสอบการป้องกันการโอเวอร์โหลด, สวิตช์ลูกลอย, และฟังก์ชั่นการป้องกันอื่น ๆ. |
| 6 เดือน | รีวิวอะไหล่ครับ | ตรวจสอบสต๊อกไส้กรอง, เซ็นเซอร์, ตัวเก็บประจุ, รีเลย์, ปั๊มระบายน้ำ, และส่วนสำคัญอื่นๆ. |
บทสรุป
ข้อผิดพลาดของเครื่องลดความชื้นส่วนใหญ่มาจากระบบหลักบางส่วน, แต่การวินิจฉัยที่แม่นยำนั้นขึ้นอยู่กับกระบวนการแก้ไขปัญหาที่ชัดเจนและสมเหตุสมผล.
โดยการตรวจสอบตัวเครื่องทีละขั้นตอนและปฏิบัติตามแผนการบำรุงรักษาเชิงป้องกัน, ผู้ใช้สามารถลดการหยุดทำงาน, ปกป้องส่วนประกอบสำคัญ, และทำให้เครื่องลดความชื้นทำงานได้อย่างน่าเชื่อถือในระยะยาว.