除湿機の故障のほとんどは電源に起因します, 気流, 排水, センサー, または冷凍の問題.
これら 5 つの領域は、除湿機に関する一般的な問題の多くを引き起こします。, 除湿なしを含む, 効率が低い, アイシング, 水漏れ, センサーエラー, そして突然のシャットダウン.
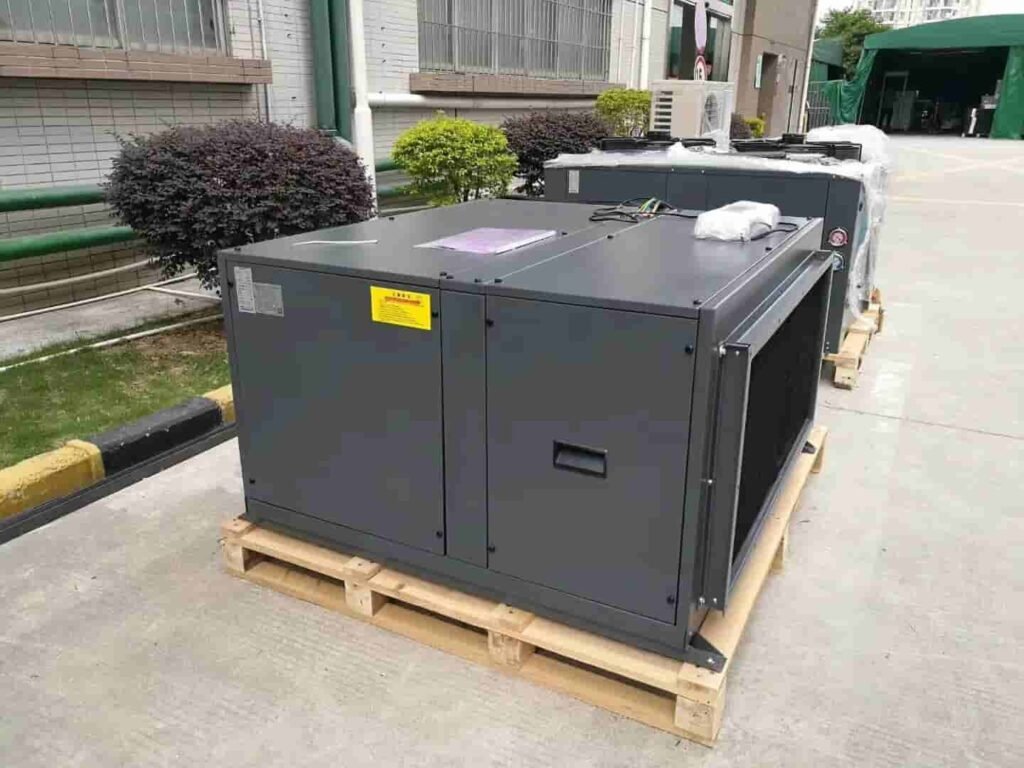
このトラブルシューティング ガイドでは, よくある故障について説明します, 考えられる原因, 商業用および産業用除湿機向けの段階的なソリューション.
クイックトラブルシューティングチャート
部品を交換する前に、単純なトラブルシューティングから複雑なトラブルシューティングまでの手順に従ってください。. このアプローチは、メンテナンス チームが本当の原因をより迅速に発見するのに役立ちます, ダウンタイムを削減する, 不必要な分解を避けてください.
| ステップ | アクション | キーポイント |
|---|---|---|
| 1 | 電源を分離する | 安全な検査を確保. |
| 2 | アラームを確認する | まず故障方向を特定する. |
| 3 | 目視検査 | ルースを探す, 汚い, ブロックされました, または破損した部品. |
| 4 | 操作中に聞く | ファンの識別, リレー, またはコンプレッサーの異常. |
| 5 | 主要な値を測定する | 電圧を確認する, 現在, センサー, とコンデンサーの状態. |
| 6 | 必要に応じてユニットを開けます | 分解は基本的な確認を行った後に行ってください. |
| 7 | 修復して再テストする | 修正後の正常な動作を確認する. |
障害リストとトラブルシューティング
次のステップでは、障害リストとトラブルシューティングの詳細を具体的に説明します。.
| 故障 | 理由 | トラブルシューティング |
|---|---|---|
| 除湿機の電源が入らない | 1. 電源プラグが抜かれている | 1. 電源がしっかりと接続されていることを確認してください. |
| 2. サーキットブレーカーが落ちた、またはヒューズが切れた | 2. サーキットブレーカーを確認してリセットするか、ヒューズを交換してください. | |
| 3. コンセントの故障 | 3. 別のデバイスでコンセントをテストして、機能することを確認します. | |
| 4. 内部コンポーネントの故障 | 4. 専門の技術者に連絡してください. | |
| 5. 満水タンク | 5. 水タンクを空にし、正しく配置されていることを確認します. | |
| 除湿機に水が溜まらない | 1. 部屋の湿度が低い | 1. 部屋の湿度が除湿機の動作レベルを超えていることを確認します. |
| 2. エアフィルターの汚れまたは詰まり | 2. エアフィルターを掃除または交換する. | |
| 3. 吸気口または排気口の詰まり | 3. 吸気と排気に障害物がないことを確認してください. | |
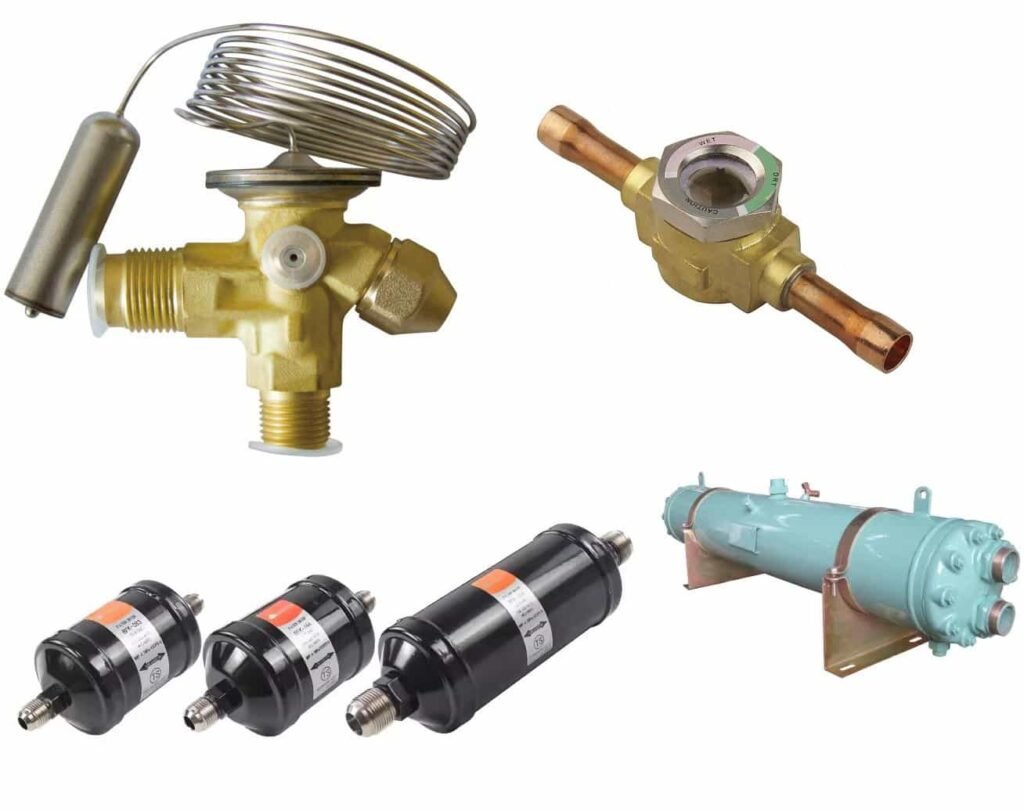
| 4. コンプレッサーの故障または冷媒漏れ | 4. 専門の技術者に連絡してください. | |
| 5. 湿度設定が正しくない | 5. 設定をより低い湿度レベルに調整します. | |
| 除湿機から異音がした | 1. 部品の緩みや磨耗 | 1. ネジを締めて、摩耗した部品がないか検査します, または交換してください. |
| 2. ファンの障害物 | 2. ファン内の障害物を確認して取り除きます。. | |
| 3. 凹凸面での振動 | 3. 除湿機を水平な場所に置きます. | |
| 4. コンプレッサーの問題 | 4. 専門の技術者に連絡してください. | |
| 除湿機から水漏れがする | 1. 水タンクが満杯であるか、不適切な位置にある | 1. 水タンクを空にして正しい位置に戻します. |
| 2. 排水ホースまたはシステムの詰まり | 2. 排水ホースを掃除し、ねじれや詰まりがないことを確認します. | |
| 3. 破損または亀裂のある水タンク | 3. 給水タンクの点検と交換. | |
| 除湿機は連続運転します | 1. 部屋の湿度が高い | 1. 部屋の湿度を確認し、設定を調整する. |
| 2. 湿度設定が正しくない | 2. 湿度レベルをより高い値に設定します. | |
| 3. 加湿器の故障 | 3. 加湿器をテストして交換する. | |
| 4. エアフィルターまたは吸気口の詰まり | 4. エアフィルターを掃除し、適切な空気の流れを確保します. | |
| 除湿機のオン/オフが頻繁になる | 1. 湿度設定が正しくない | 1. 湿度設定をより適切なレベルに調整します. |
| 2. エアフィルターの汚れ | 2. エアフィルターを掃除または交換する. | |
| 3. 気流の遮断 | 3. 適切な空気の流れを確保するために、ユニットの周囲に十分なスペースがあることを確認してください. | |
| 4. 加湿器の故障 | 4. 加湿器をテストして交換する. | |
| 5. 電気的な問題 | 5. 接続の緩みや配線不良がないか点検し、修理します。. | |
| 除湿機のコイルに霜が付く | 1. 室温が低すぎる | 1. 除湿機は暖かい環境で使用するか、自動霜取り機能付きの除湿機を使用してください。. |
| 2. 霜取り制御の不良 | 2. デフロストコントロールの点検と交換. | |
| 3. 空気の流れの制限 | 3. エアフィルターを掃除し、ユニット周囲の適切な換気を確保してください。. | |
| 4. 冷媒レベルが低い | 4. 冷媒の点検と補充については専門の技術者に連絡してください。. | |
| 除湿器がカビ臭い、またはカビ臭い | 1. エアフィルターや水タンクの汚れ | 1. エアフィルターの清掃または交換、水タンクの定期的な清掃を行ってください。. |
| 2. ユニット内部にカビが生えている | 2. 本体内部を中性洗剤と水で掃除してください. | |
| 3. 部屋の湿度が高いとカビの発生が促進される | 3. 除湿機が部屋に対して適切なサイズであることを確認してください. | |
| 除湿機のサーキットブレーカーが落ちる | 1. 過負荷回路 | 1. 除湿器が専用回路上にあることを確認してください. |
| 2. 除湿器の故障 | 2. 故障したコンポーネントをテストして交換するか、技術者に連絡してください. | |
| 3. 短絡または電気的な問題 | 3. 配線の問題を検査し、修理する. | |
| 除湿機のファンが回っていない | 1. ファンモーターの故障 | 1. ファンモーターの点検と交換. |
| 2. ファンのブロック | 2. ファンの周囲に障害物がないか確認して取り除きます。. | |
| 3. 電気的な問題 | 3. 電気接続を検査して修理します. | |
| 除湿機は冷風を出す | 1. 室温が低い | 1. 除湿器は暖かい環境で使用してください. |
| 2. 温度センサーの故障 | 2. 温度センサーをテストして交換する. | |
| 除湿機がリモコンに反応しない | 1. 電池切れ | 1. 電池を交換してください. |
| 2. リモコンが正しく向けられていない | 2. リモコンが本体のセンサーに直接向けられていることを確認してください. | |
| 3. リモコンまたはセンサーの故障 | 3. リモコンまたはセンサーをテストして交換する. | |
| 除湿器の過熱 | 1. 通気孔の詰まり | 1. 通気孔に障害物がないことを確認してください. |
| 2. エアフィルターの汚れ | 2. エアフィルターを掃除または交換する. | |
| 3. ファンモーターの故障 | 3. ファンモーターの点検と交換. | |
| 4. 室温が高すぎる | 4. 除湿器は涼しい環境で使用してください. |
トラブルシューティングの責任マトリックス
修理前, サービス境界を明確に定義する. サイトのメンテナンスは基本的な検査と単純な外部の問題に対応できます, 制御システムに関連する障害が発生している間, コンプレッサー, または冷媒回路についてはメーカーまたは資格のある技術者に問い合わせてください。.
| 問題 / 状態 | エンドユーザーまたはサイトのメンテナンス | メーカーの技術サポート |
|---|---|---|
| 電源がありません, 端子の緩み, ブレーカーが落ちた | はい | いいえ |
| フィルターが汚れている, 入口または出口が詰まっている | はい | いいえ |
| 排水ホースの詰まり、または不適切な排水勾配 | はい | いいえ |
| 水トレイの清掃と基本的な排水チェック | はい | いいえ |
| 目に見えるネジの緩みや異常な振動 | はい | いいえ |
| 基本的なセンサー配線のチェック | はい | いいえ |
| マニュアルに従って簡単なパラメータリセット | はい | いいえ |
| リセット後もアラームが繰り返される | いいえ | はい |
| 交換または校正が必要なセンサーの故障 | いいえ | はい |
| ドレンポンプの故障または内部配線の故障 | いいえ | はい |
| ファンモーターの故障, コンデンサの故障, リレー故障 | いいえ | はい |
| PCB の損傷または制御コンポーネントの焼け | いいえ | はい |
| プログラムパラメータ異常またはコントローラロジック異常 | いいえ | はい |
| コンプレッサーの過負荷または繰り返しのプロテクタートリップ | いいえ | はい |
| 冷媒漏れ, 充電する, または密閉されたシステムの修理 | いいえ | はい |
| 原因不明の高圧/低圧保護 | いいえ | はい |
| ユニットは動作しますが、基本的なチェックの後、容量は依然として定格を大幅に下回っています。 | いいえ | はい |
予防保守スケジュール
適切なメンテナンスルーチンは、一般的な障害を防ぐだけではありません, だけでなく、サービスチームが空気の流れの制限を検出するのにも役立ちます, 排水の問題, センサー偏差, 冷却の問題がシャットダウンを引き起こす前に早期に解決される.
| 間隔 | メンテナンス品 | キーアクション |
|---|---|---|
| 月あたり | エアフィルター | フィルターを掃除または交換する, 粉塵負荷と通気抵抗をチェックする. |
| 月あたり | 空気の入口と出口 | 詰まりを取り除く, 自由な空気の流れをチェックする, グリルの状態を点検する. |
| 月あたり | 排水システム | ドレンホースを確認してください, ドレンパン, ウォータートラップ, と吐出流量. |
| 月あたり | ユニット表面とキャビネット | 汚れをきれいにする, 腐食を検査する, パネルの状態を確認する. |
| 月あたり | 基本的な動作状況 | 湿度低下の確認, 排水, ノイズ, 振動, およびアラームステータス. |
| 3 月 | 電気端子 | 端子の締まり具合を確認する, ケーブルの状態, そして過熱の兆候. |
| 3 月 | エバポレーターとコンデンサーコイル | コイル表面の洗浄と汚れの検査, 霜, またはフィンの損傷. |
| 3 月 | ファンセクション | ファンの回転を確認する, 刃の状態, モーターノイズ, 取付安定性. |
| 3 月 | センサー性能 | 表示値と実際の部屋の状況を比較し、センサーの固定を点検します. |
| 3 月 | ドレンポンプが装備されている場合 | ポンプの起動・停止機能をテストし、安定した吐水を確認します。. |
| 6 月 | 制御システム | アラーム履歴を確認する, PCB の状態を検査する, パラメータ設定を確認します. |
| 6 月 | ファスナーと構造 | キーネジを締めます, フレームを検査する, サポートします, そして防振部品. |
| 6 月 | 冷凍性能 | 吸入・吐出状態の確認, コイルフロストパターン, そして除湿性能も. |
| 6 月 | 安全装置 | 過負荷保護を確認する, フロートスイッチ, およびその他の保護機能. |
| 6 月 | スペアパーツのレビュー | フィルターの在庫を見直す, センサー, コンデンサ, リレー, ドレンポンプ, およびその他の重要な部分. |
結論
除湿機の障害のほとんどは、いくつかのコア システムに起因します, しかし、正確な診断は、明確で論理的なトラブルシューティング プロセスに依存します。.
ユニットを段階的にチェックし、予防保守計画に従うことにより、, ユーザーはダウンタイムを削減できる, 主要コンポーネントを保護する, 除湿機を長期間確実に運転し続けます。.